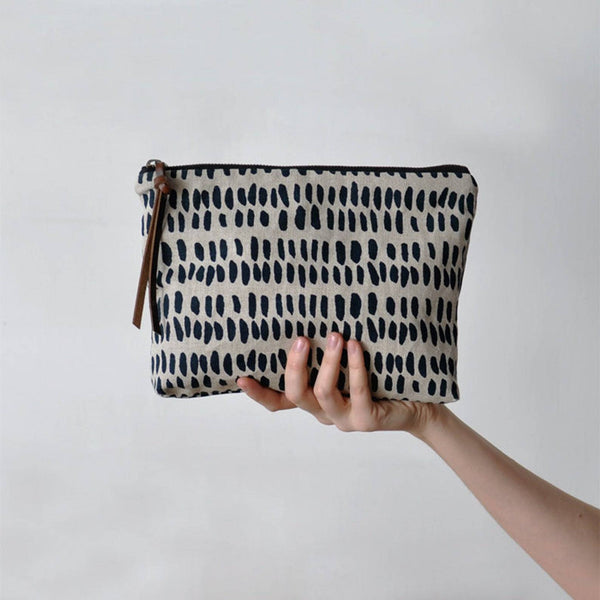
Considerations: Do you need it to be waterproof on the inside? Think about a makeup bag or toiletry bag, as they're designed to hold liquids. Do you want to carry a full-size toothbrush rather than a small or folding travel brush? Look for something like a pencil pouch, as they're generally long enough to accommodate a full handle.
If you’re worried about your liquids getting crushed in your aligner travel kit, consider a hard pencil case. They’ll have plenty of room to hold everything from a full-sized toothbrush to everything you need to clean and maintain your aligner, without worrying about making a mess if you sit on your bag or set it down too hard.
An Aligner Case
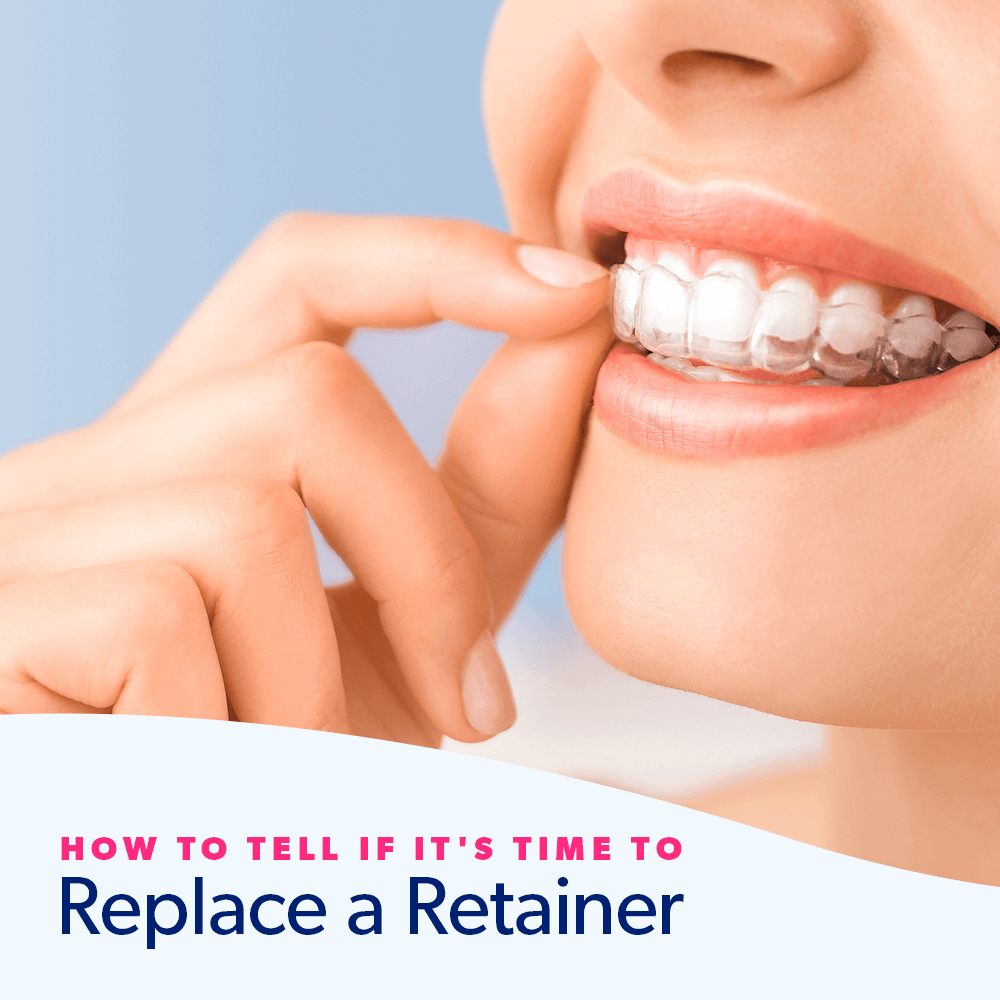
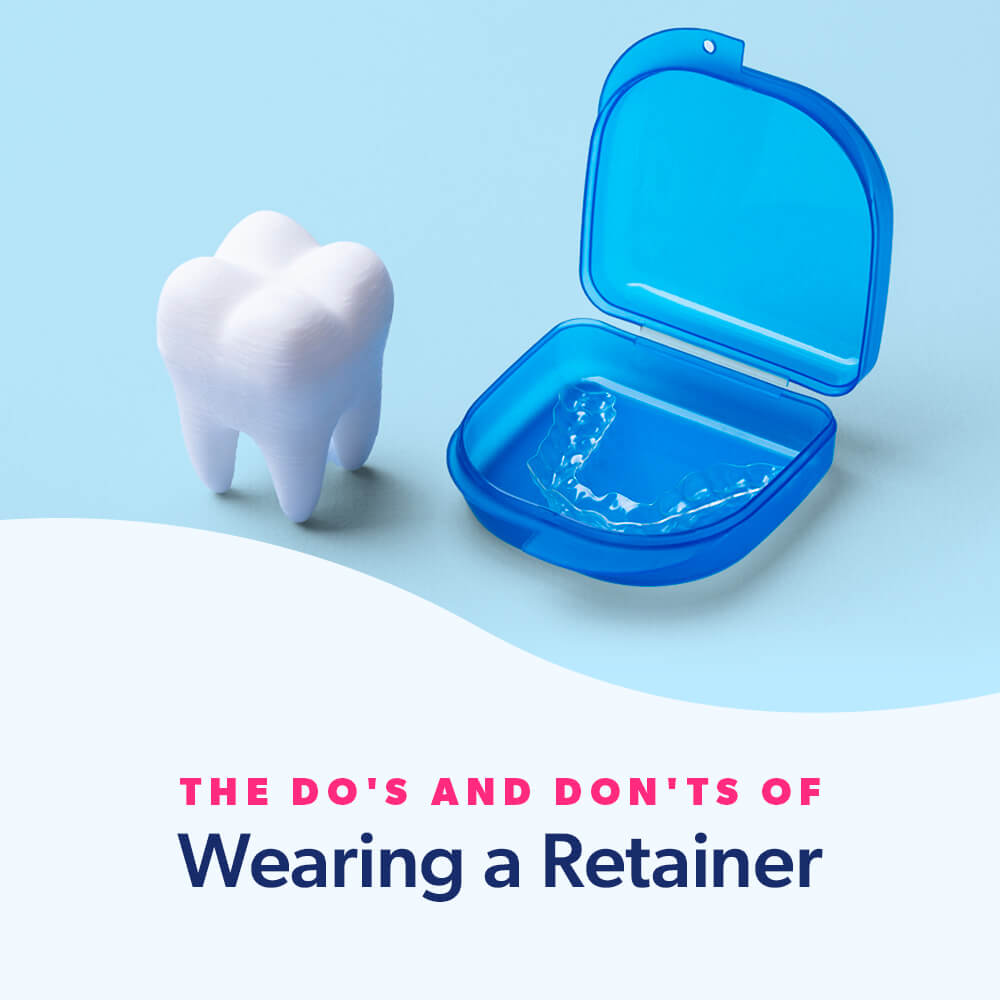
You might think you can get by without one, until you put your clear aligners in a napkin and throw them away. Replacing a set of aligners sets you back in your treatment and costs money, so do the smart thing and always carry a case. This gives you a clean place to stash your aligners while you eat or drink, and you can also soak your aligners in the case if you need to- no cup necessary! Some people love the magnet-closure cases, and others have said they pop open when you drop them, so weigh the pros and cons of each kind for yourself.
Toothbrush and Toothpaste
Get used to brushing your teeth ALL THE TIME. Aligners trap bacteria and food particles against your teeth where they can cause the most damage, so it's important to keep things as clean as possible. Brush after every meal and every non-water beverage to keep your aligners clear and your teeth white and healthy. Don't use toothpaste on your aligners, though-- it's abrasive and can cause microscopic scratches that can trap funk and make them appear cloudy.
Mouthwash
While you won’t want to cart a full-sized bottle of mouthwash with you — mostly because it won’t fit in your travel bag or aligner on-the-go kit — having a travel-sized bottle stashed in your go kit can make it easier to keep your mouth clean while you’re on the go. Opt for whitening mouthwash if you want to give your teeth a boost and keep them white and shiny even if you’re not home.
EverSmile
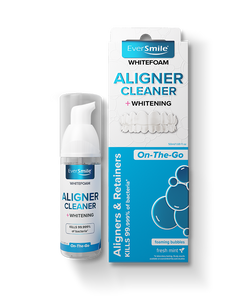
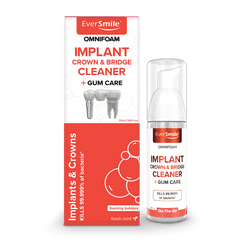
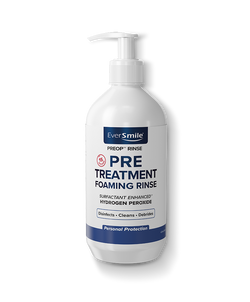
Sometimes you can't brush- the public restroom is gross, or unavailable; you're at the office or a festival; or you're just in the car and need a freshen up. Sometimes you just need a quick touch-up. EverSmile WhiteFoam and AlignerFresh are designed for times like this- no brushing, rinsing, or soaking necessary. The hydrogen-peroxide based foam or spray goes in your trays, which can then be put right back in your mouth. The peroxide breaks up stain molecules and kills bacteria, and the mint flavor freshens your breath. Over time your teeth get whiter too! It even works under attachments. As a bonus, some people find that WhiteFoam helps new/tight trays slide on more easily!
Floss
Even if you've never flossed before, you're going to want to start now. Remember what we said about the aligners trapping things tight against your teeth? Make sure you get all the gunk out with a good flossing- the brush won't get it all. You can try floss or flossers, or even picks, but choose something that works for you and use it. Once the plaque turns into tartar it becomes much harder to remove- you'll need a dentist.
Chewies
What is a chewy, you might be asking? Aligners can be hard to place properly, especially when you've started a new tray. They can also be pretty uncomfortable before your teeth adjust to the new fit. A chewy is something that you bite down or chew on (hence the name) to alleviate the discomfort and help properly seat your aligners. They help ensure your treatment progresses properly when used regularly since they help your aligners fit tightly! You can find these in reusable plastic or silicone variations, or even as mints.
Braces Wax or Emery Board
Attachments can be irritating until your mouth adjusts to them, and aligners sometimes come with slightly rough edges. Protect the inside of your mouth by applying braces wax to sharp or irritating areas, or by using an emery board to lightly file rough edges on your aligner.
Aligner Removal Tool
Your aligners are tight. That's great! That means they're going to work well. However, it can be very tricky to get them out of your mouth when they're super snug. Luckily there are tools on the market to help with that- they have a small hook that catches the edge of your aligner and helps pop it off your teeth, so you're not struggling to get the right grip with your fingernails. They go by a variety of names:
Lip Balm
Some people find that their lips get very dry when they're wearing aligners. A good lip balm can help! Consider one with SPF if you spend time outdoors.
Tylenol and/or Orajel
Sometimes the discomfort of aligners gets to be more than a chewy or wax can manage. Orajel is a topical ointment you apply to painful spots on the inside of the mouth to help numb and heal the area. For minor headaches or jaw pain caused by a new set of trays, Tylenol can help. Don't take any NSAIDs (Motrin, Advil) as they are anti-inflammatory drugs that can decrease the process of tooth movement.
Hand Sanitizer
We’ve all become so accustomed to carrying hand sanitizer that it’s almost a forgone conclusion that we’ll have some in a bag somewhere. Ideally, after you’ve cleaned your aligner and put it back in, you’ll have nearby facilities for washing your hands. Hand sanitizer is no replacement for a good handwashing, but it will help kill bacteria on your hands in a pinch if you’re not near a sink and need to get back to work.
Tissues
Sure, you can wipe your hands — and your aligner — on the hem of your shirt or your jeans, but that just ends up getting gross after a while. Invest in some travel-sized packs of tissues or wet wipes and toss them into your aligner travel kit or go-bag. You never know when a tissue might come in handy.
A Compact Mirror
After you’ve been working with your aligner for a while, it gets easier to do everything by feel. But when you’re first starting out, it’s helpful to be able to see what you’re doing. A cheap compact mirror won’t cost you more than a couple of dollars, and it can make cleaning and re-seating your aligner a lot easier while you’re getting used to it, or after an adjustment when things might feel like they don’t fit quite right.
And now you're equipped!
We gathered all the best advice for you to help make your aligner journey as comfortable and easy as possible. We’ve covered all the bases from storage, to keeping things clean, to insertion/removal and even discomfort. We hope this helps you feel ready to tackle any situation that may come up, no matter where you are! An aligner on-the-go kit can help you feel confident and prepared. Is there anything we've missed that you've found indispensable? Let us know!






Post a Comment!